 Previous Topic
Formatting Chart Paper
This topic describes how you can format the paper of a chart.
- Right-click any chart element and select Format Paper from the shortcut menu, or double-click the paper of the chart. Designer displays the Format Paper dialog box.
- Set the scaling ratios or rotation angles for the chart axes in the paper.
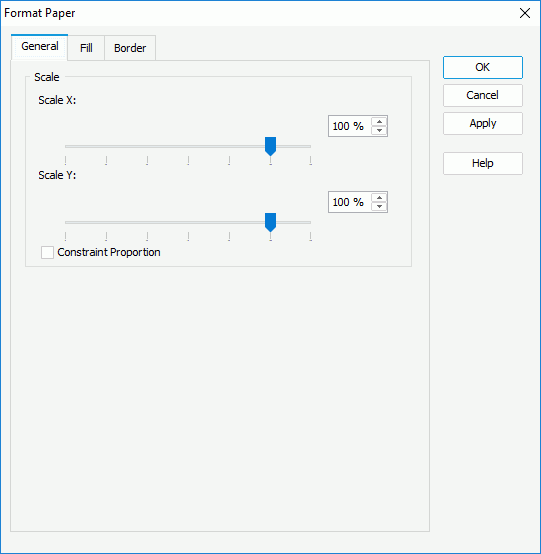
- For a 2-D chart, in the General tab, drag the slider to scale up or down the display size of the chart along the X or Y axis, or type the scaling ratio in the text boxes. Select Constrain Proportion to apply the same scaling ratios for both the X and Y axes.
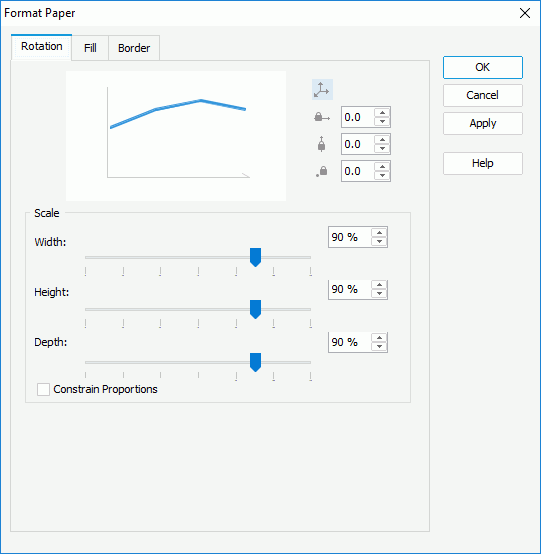
- For a 3-D chart, in the Rotation tab, set the rotation angle for the chart, and specify the scaling ratios for the X, Y, and Z axes accordingly. You can either select the icon
 ,
,  ,
,  , or
, or  , and then drag the chart thumbnail in the preview box to rotate the chart around the origin point, X axis, Z axis, or Y axis, or adjust the degrees in the corresponding text boxes. Select Constrain Proportion to set the same scaling ratios for the X, Y, and Z axes.
 You can also rotate a 3-D chart in another intuitive way:
- Right-click anywhere in the chart and select Rotation Mode from the shortcut menu.
- Hold the mouse button and move the pointer to the target position, then release the mouse button to confirm.
To quit the rotation mode, right-click anywhere in the chart and select Editing Mode on the shortcut menu.
- For a 2-D chart, in the General tab, drag the slider to scale up or down the display size of the chart along the X or Y axis, or type the scaling ratio in the text boxes. Select Constrain Proportion to apply the same scaling ratios for both the X and Y axes.
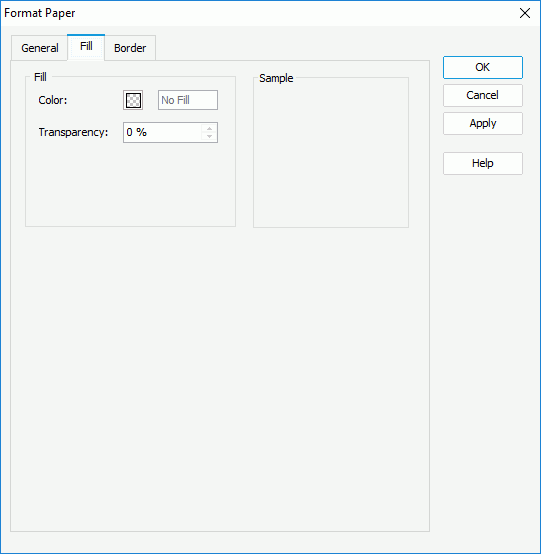
- In the Fill tab, specify the color and transparency to fill the paper (to change the color, select the color indicator and select a color from the color palette, or type the hexadecimal RGB value of a color in the text box).
- In the Border tab, specify properties for the border of the paper.
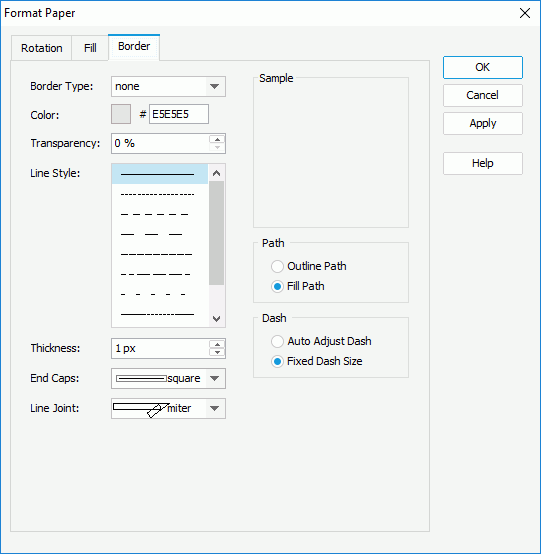
- From the Border Type drop-down list, select how you want to display the border.
- Specify the color, transparency, line style, thickness, ending style, and line joint mode of the border.
- In the Path box, specify the fill pattern of the border: Outline Path or Fill Path.
- In the Dash box, select to automatically adjust the dash size or use fixed dash size if you select a dash line style for the border.
- When you select the Line Joint option as "joint round", you can set the radius for the border joint in the Radius text box.
- Select OK to apply the settings and close the dialog box.
 Back to top